Adding an Event
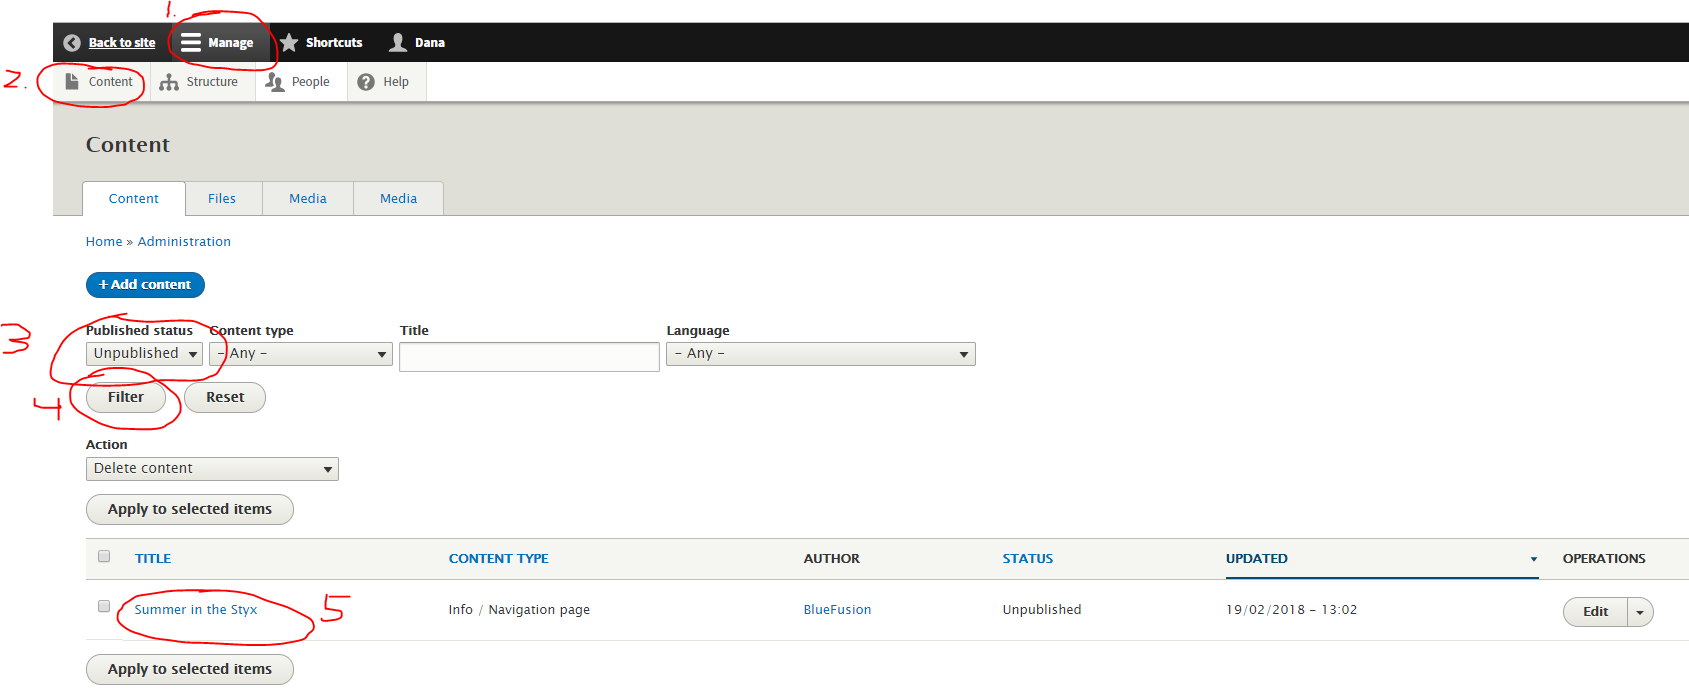
1. Check if there is an unpublished Event in the system from last year
This can save you a lot of time - simply publish the unpublished event after updating the information for the current year.
- Manage / Content / Published Status / Unpublished
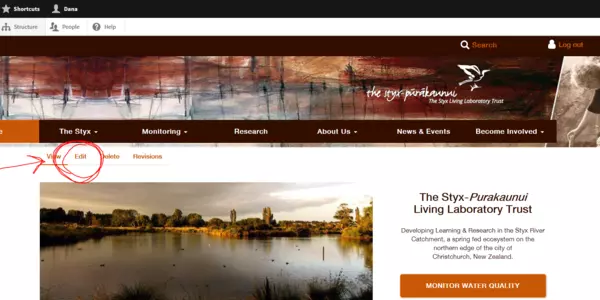
After updating the page for this year's event, click the published checkbox to make it live.
2. If there is no unpublished Event, then Add a new page for the new event
- Manage / Content / Add Content / Info / Navigation Page - Or in Shortcuts click Add Nav or Info page.
- Enter a Title for your event - try to get this correct the first time, as this will be the page's URL as well as the title.
- Navigation Image - Create a 2:1 ratio image, Click Navigation Image, Select Files, Select Files (or drop), Select Entries, Use Selected
- Add an alt text for the image (short description)
- Display Main Nav Image is usually the option you'll want for these pages.
- Page information is useful if you want text on the right of the main photo. Leave this blank if you don't want that text.
- Gallery - This is rarely used in this section. Skip.
- Further Info - This is the main body of the page. You'll usually want to select the dropdown arrow, then Add Text Block
- You'll likely want to add another block that is a map for your event
- Be sure your event is actionable, with a date, time, and location. Do you visitors have all the information they need to attend the event?
- Related pages - commonly pages that support your event - often in the get involved section.
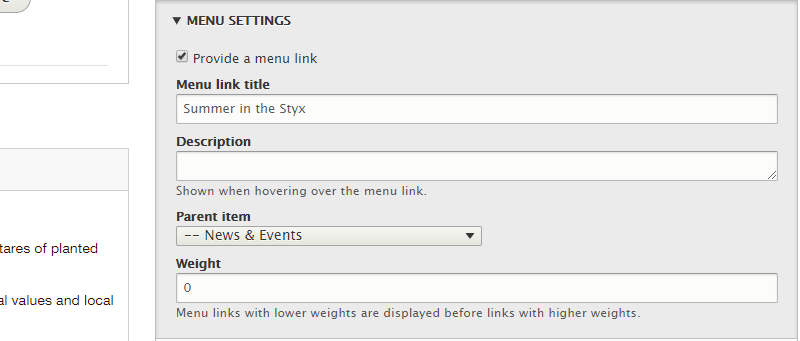
- MENU SETTINGS on the right side
- Provide a menu link - checked
- Menu link title - only if it should be different than the page title
- Parent item - --News & Events
- Save


